Today’s guest post comes from Dr. Echo Rivera, owner of Creative Research Communications, LLC. Dr. Rivera is passionate about helping researchers, academics, scientists, and evaluators become effective visual communicators by training them to create slide presentations for lectures, conferences, and workshops. Keep reading for some fantastic tips that will help you design your next presentation!
Does the process of making a presentation stress you out? Do you find that you’re always scrambling to finish a presentation on time? When you’re finally done creating your presentation, do you find yourself questioning why was it so stressful in the first place?
Yeah. I’ve been there. And it sucks. I felt like I was always scrambling to get it done, and that it was taking more time than it needed to.
But, as a researcher, evaluator, and/or instructor, you don’t really have a choice, do you? Presentations are part of our life. Well I’ve got an idea for you, my friend. Because these days I finish my presentations on time, with zero stress. That’s right: zero stress.
What’s my secret for a zero-stress presentation design?
Grab a cup of coffee and a notepad, because I’m about to share some of my secrets with you.
Friends, it’s a presentation checklist.
It might sound a bit silly, but stay with me. Not that long ago, I was making a new presentation almost every week and felt like I was using my time inefficiently. I was going back and forth on a lot of things and I felt a bit scrambled.
Then I finally did something kind of on accident when the light bulb finally went off. For two presentations in a row, I basically followed the same process–or workflow–both times. Duh, why didn’t I think of that before!
Keep reading for the 4 steps in my presentation design checklist.
1. Storyboard & Set Goals
Ok, be real with me (and yourself). When it’s time to work on a presentation, how often do you jump straight into drafting your presenter notes or messing with the design?
I used to do that every. single. time. At least, until I realized that when I don’t take some time to plan or prep, I have less of an impact with my presentation. Let’s break this down a bit more.
When you don't take the time to plan your presentation, you'll inevitably have less impact. Click To TweetSet your goals: What should they remember?
The first thing to think about is your presentation goals. I take a little bit of time to envision what I want people to come away with. We know that people have limited capacity to learn new things, so I try to think about the 1 thing I want everyone to remember. That helps me then storyboard, and think through how I can weave and refer back to that 1 thing throughout the presentation.
Storyboard
Storyboarding is how you organize, outline, and structure your presentation. You probably already do something similar to this if you create sections for your introduction, method, results, and discussion. But, storyboarding pushes you to think beyond that. It’s the flow of your story and how, in a broad sense, you walk your audience through your whole story to make your point.
2. Create Content (presenter notes)
Using the storyboard outline as your guide, now it’s time to create your presentation content.
Draft most of your content
I need to emphasize this part: Right now, you’re focused on what you’re going to say to your audience, as in your actual presentation speech. What your audience is going to see comes later (Step 3, to be exact). So don’t worry about that right now.
Always start with your content, because good design can’t make up for bad content.
Good presentation design can't make up for bad content.Click To TweetNow is when I start the process described in my other post, 5 Steps to Stop Wasting Time in Your Presentation Design. Check out that post for more detail and some information design tips, but briefly the first 2 steps are:
- Start with blank (white) slides
- Draft your presentation as you normally do (combination of slide text & presenter notes)
Do your first practice session
Now it’s time for a verbal run through of everything. Don’t time yourself yet. Right now you’re just saying everything out loud to see how it sounds and what the flow is like. Because you aren’t timing yourself, feel free to edit as you go along. This is probably the stage where the most edits and revisions happen, at least for me. I always change up the organization and flow, fill in gaps, and remove stuff I don’t need.
Once you’re done with that, now open up that clock app on your phone and time yourself. I tend to time each section as I go along, because it helps me know where I need to cut or add information later. You will probably see more things you need to change, so go ahead and make those changes. Just remember to pause the timer, because you’re trying to get a sense of how long your presentation is right now.
Ok. So how long was it? If your first impression is that it was too short, remember that you want to build in time for audience engagement about every 5-7 minutes or so.
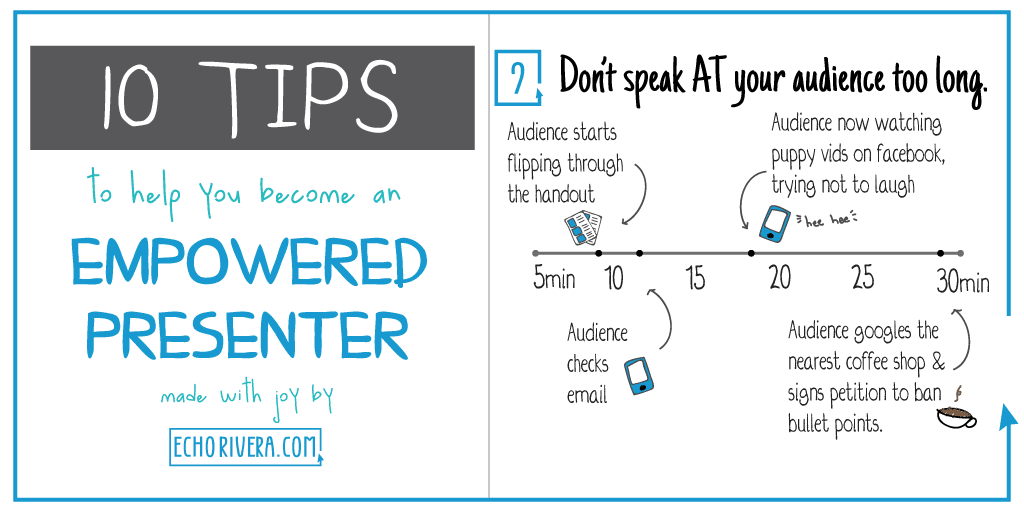
If your first impression is that it was too long, then remember that you want to build in time for audience engagement about every 5-7 minutes or so!
Without fail, this is where I am by this point. I always make my presentations too long, I always need to cut down on the material, and I always feel like it’s the hardest part of this whole process.
So go through your material, and ask questions to help you cut through the extra stuff that doesn’t need to be on your slides:
- Do they really need to know all that info from my lit review at that moment in time? Probably not.
- Do they really need to know so much about my method right that second? Probably not.
- Do I really need to list the limitations of my cross-sectional study and how it’d be great to do a longitudinal study instead? Probably not.
Would it be helpful for them to know these things, though? Well, probably. And now is the time to remind yourself about the magical possibilities of your handouts.
You’re already used to making handouts, so just remember that what is important, but doesn’t make the cut for your slides, would probably make a great handout.
Ok so now you’re pretty close to having your final speech content and slide organization. Now what?
3. Design your slides
Now it’s time to continue on with the process described in my other post, 5 Steps to Stop Wasting Time in Your Presentation Design.
- [Done] Start with blank (white) slides
- [Done] Draft your presentation as you normally do (combination of slide text & presenter notes)
- Copy & paste the content into the presenter notes
- Design the slides, using visuals (and other information design principles) as much as possible
- Add animations if needed
Audit Yourself
Once you’re done with adding in the visuals and other design elements, make sure you conduct a visual audit. The easiest way to do this is to change the view of your presentation so you can see all your slides at once.
Some important things to pay attention to:
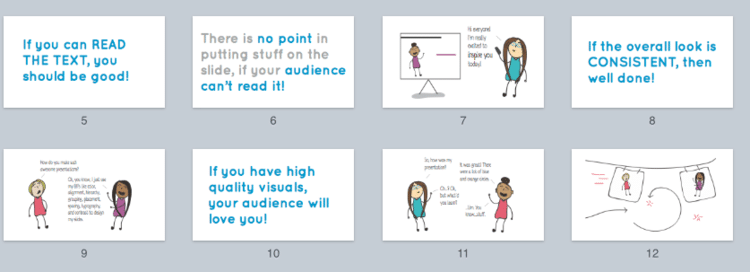
- Can you read all of the text easily? If not, then the font size is probably too small. Don’t go below size 30 (most of my text is 60+)
- Is the overall look consistent? When you look at the whole presentation, does it look like it was made at the same time, by the same person, with the one goal in mind?
- Do you have enough visuals? There should be a good mix, or flow, between text and images. If you see too many text slides in a row, try to find more visuals to break it up.
Wondering how I got to this view? Easy peasy:
- In Keynote, this is VIEW > LIGHT TABLE
- In PowerPoint, it’s VIEW > SLIDE SORTER
- In google slides… can’t 🙁
4. Practice & create your presentation package
Ok so now it’s time to start wrapping all this up.
Practice is important
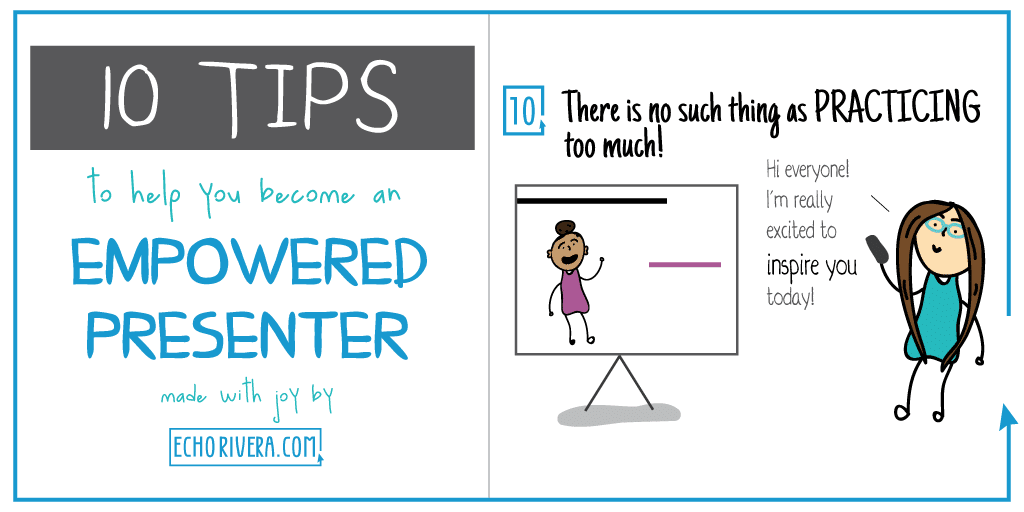
I do at least two more practice run throughs, trying my best to memorize as much as I can. I used to believe that there was such a thing as “practicing too much,” which is a lie I told myself as an excuse to stop practicing so I could watch more TV. I’m not gonna let you keep making that same mistake. There is no such thing as practicing too much. #SorryNotSorry.
Am I saying you need to memorize every single presentation?
Uhhh, no. What kind of monster do you think I am?! Goodness.
What I’m saying is that 3 practice rounds is generally a good minimum amount to start with for everyday presentations. If you’re about to deliver a really important presentation, like your defense or job talk, then you’ll be practicing that like 10-20 times (no, I’m not exaggerating — you gotta have it down).
Back yourself up
Tech fails and human fails happen all the time, so safeguard yourself. For example, are you counting on internet working for your presentation? I strongly recommend that you have a backup plan just in case the internet doesn’t work.
Sometimes files get corrupted or things get forgotten at home, so I recommend you have a couple backup copies stored somewhere you can access.
Here are some options to think about:
- Flash/USB drive
- Laptop hard drive
- Dropbox
- Emailed to yourself
- Google Drive
- Office 365 cloud or iCloud (if you used the mobile/app version of powerpoint or keynote)
This might seem overboard, but I’ve had these strategies save me a couple times, and I’ve never regretted taking an extra 5 minutes to have these backups in place.
Create an audience feedback form (if desired)
Don’t forget to create an audience feedback form if you want one. Many conferences have a standard form, but I always create my own because I have specific questions I want to ask (e.g., if they enjoyed the visuals). This is especially good to do if you’re trying out a new strategy and want some feedback.
Want the presentation workflow checklist?
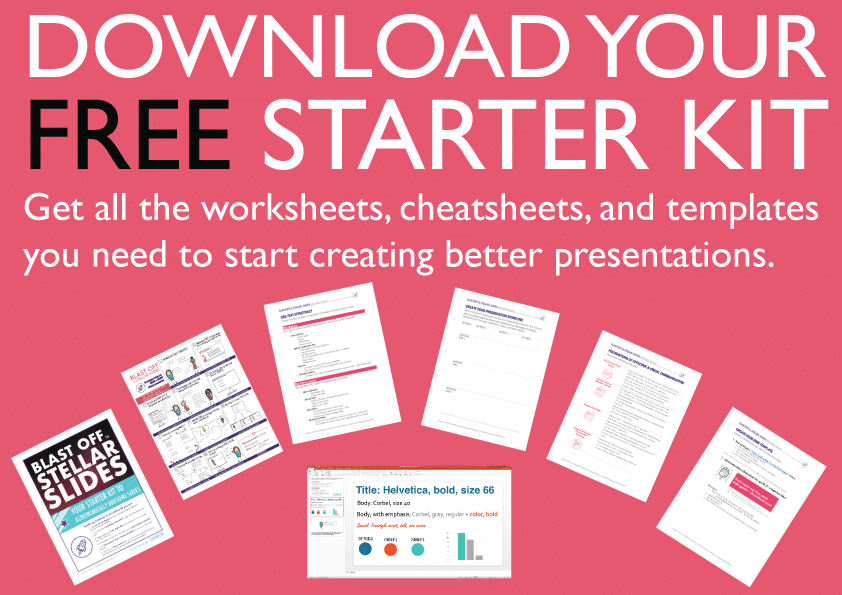
I’ve made the workflow worksheet available for download as part of my free starter kit. Learn more and grab it here.
 Hi! I’m Dr. Echo Rivera, owner of Creative Research Communications, LLC via echorivera.com. My passion is helping researchers, academics, scientists, and evaluators become effective visual communicators. I love training folks on how to create astronomically awesome slide presentations for lectures, conferences, and workshops. I also love to draw comics and want to see more comics used in research, evaluation, and teaching. I’d love to connect with you on Twitter, YouTube, or in my Facebook group, the Creative Research Communicators Network.